This post contains affiliate links and we make a small commission for purchases made using these links.
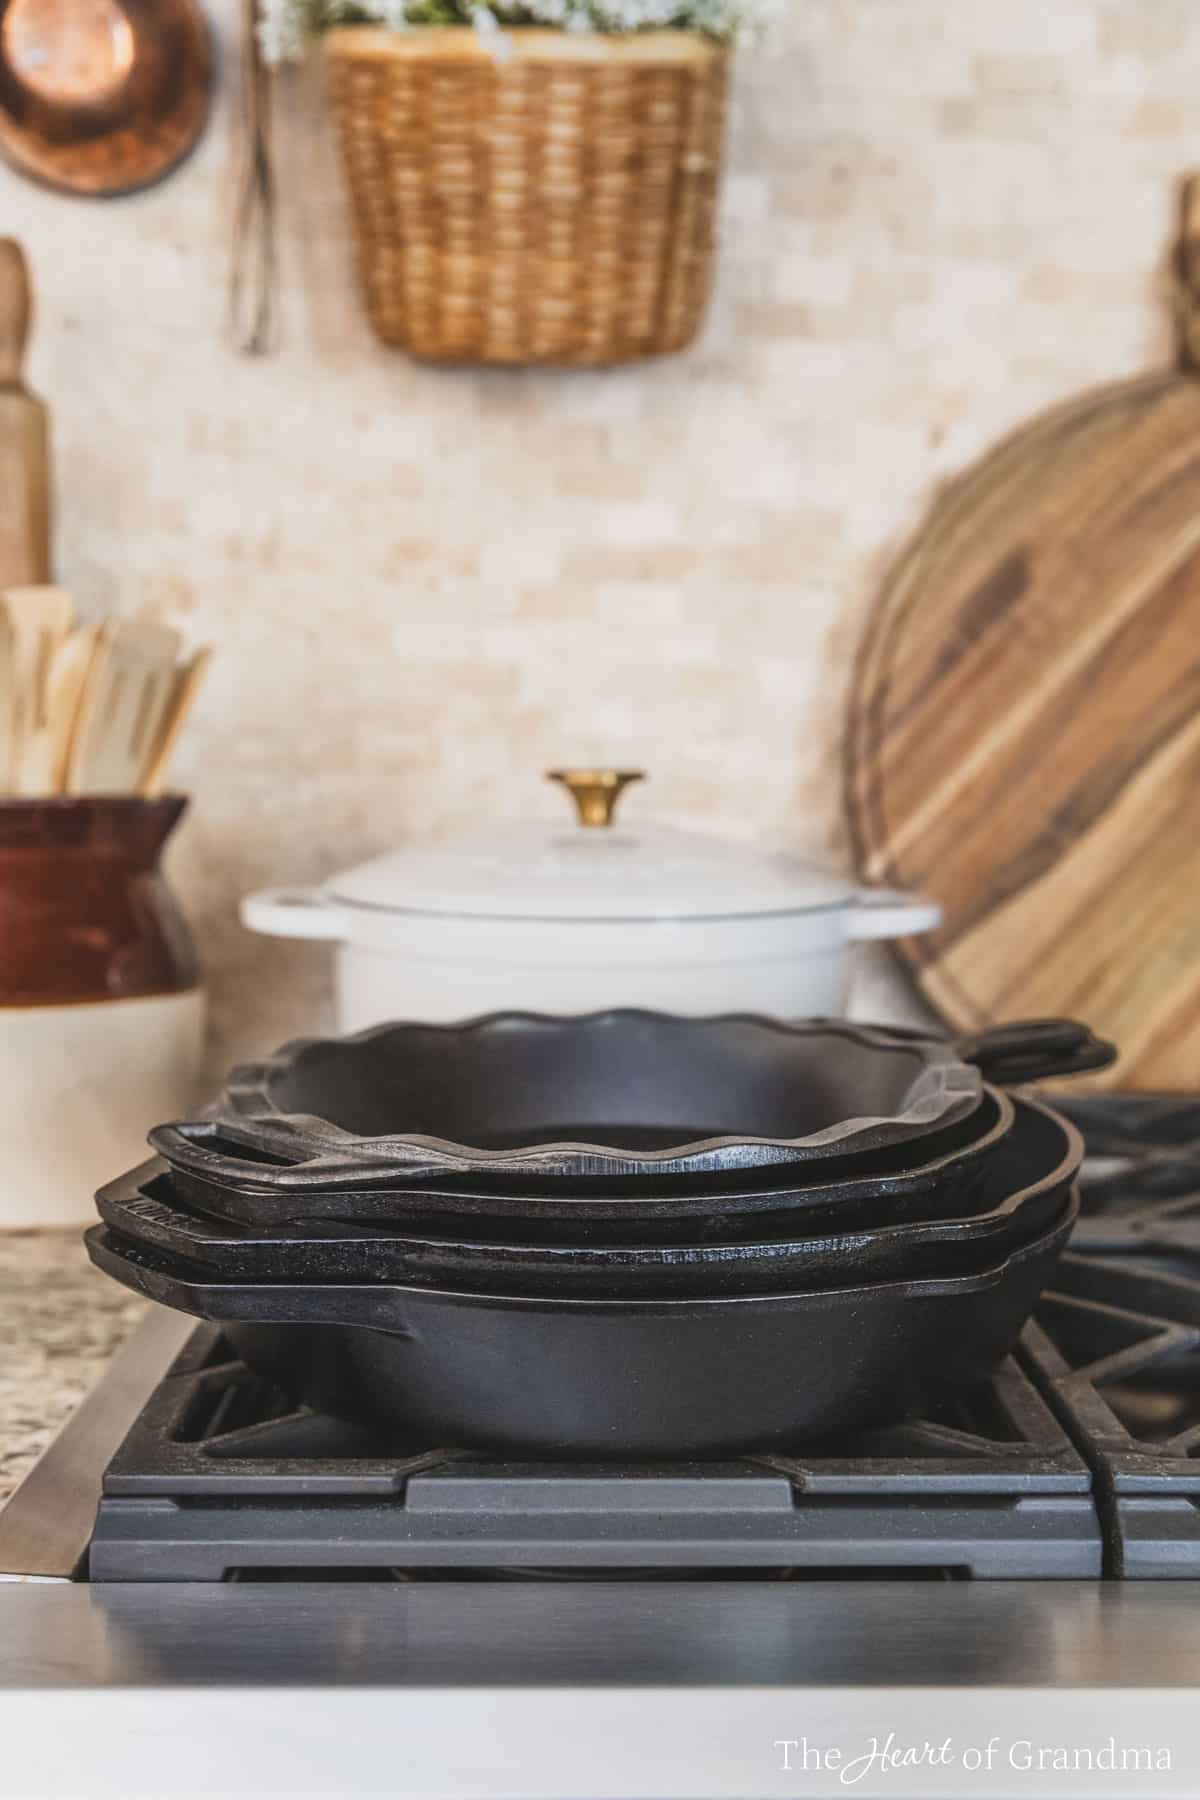
Alright, today’s post is about one of my favorite things. You know it—we’re talking all about cast iron skillets. The kind of skillet that weighs a ton, lives on your stovetop like part of the decor (maybe it is?), and somehow ends up in every single meal you cook…once you figure it out that is. And, let’s be honest, it can take a minute.
Cast iron has this weird reputation. People either love it or hate it. They speak about it like it’s sacred (“never use soap!”) or avoid it completely out of fear of ruining it. But here’s the real deal—cast iron is THE BEST. I always tell people it’s the only pan I need. That, and a Dutch oven and I can make anything. Cast iron is sturdy, forgiving, and easier to manage than most things in life (truly, haha). You just need to know a few basics. And once you do, it’ll be your forever pan (just like it is mine).
So…What Is Seasoning?
“Seasoning” sounds way fancier than it is. You’re not sprinkling herbs here; you’re baking oil onto the surface of the skillet to create a naturally nonstick, rust-resistant finish. That glossy black coating doesn’t come from a factory (unless you bought a Lodge, then it kinda does, more on that below)—it comes from regular use, proper care, and, okay, maybe a few batches of bacon along the way.
It’s not a one-time thing though. You don’t “season it” and then move on. It’s more like brushing your teeth or sweeping the porch. It just becomes part of the routine of cooking in cast iron.
If You Just Bought a Lodge Skillet
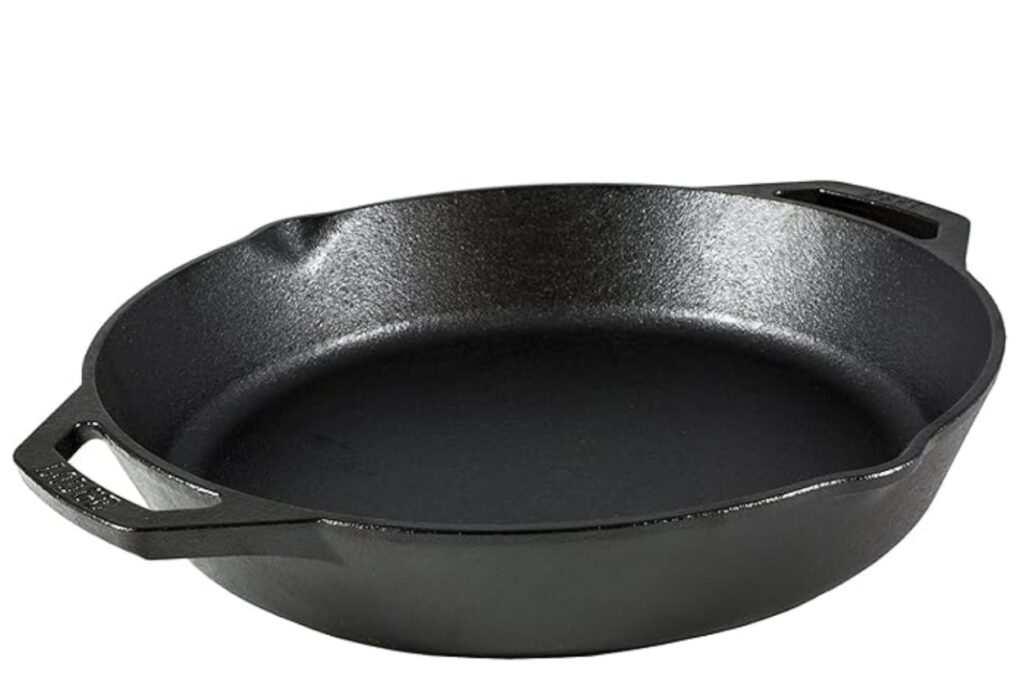
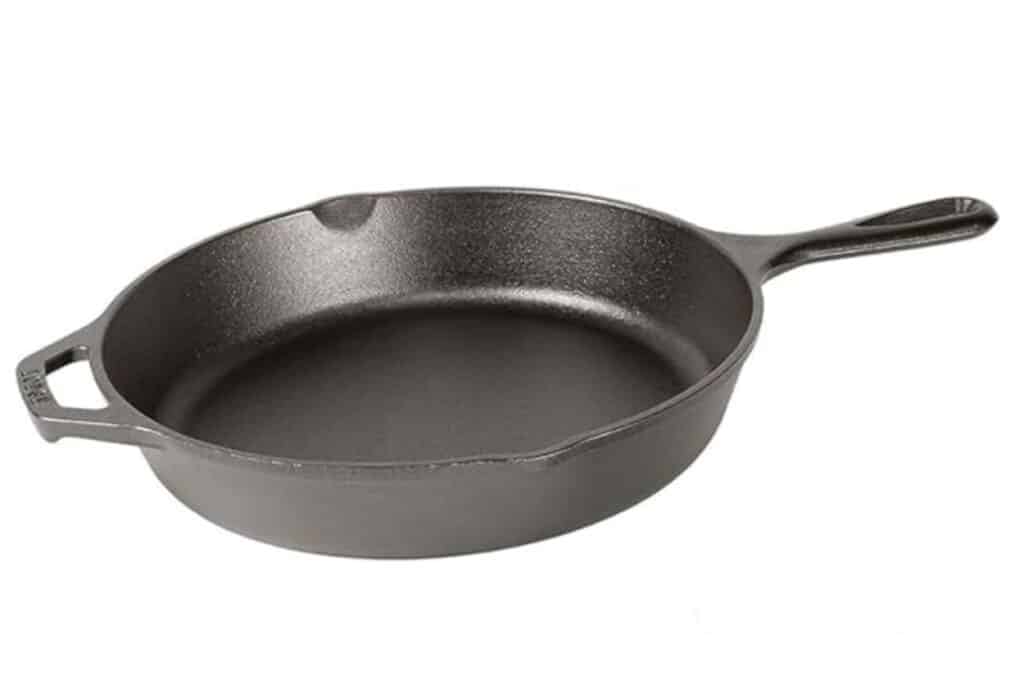
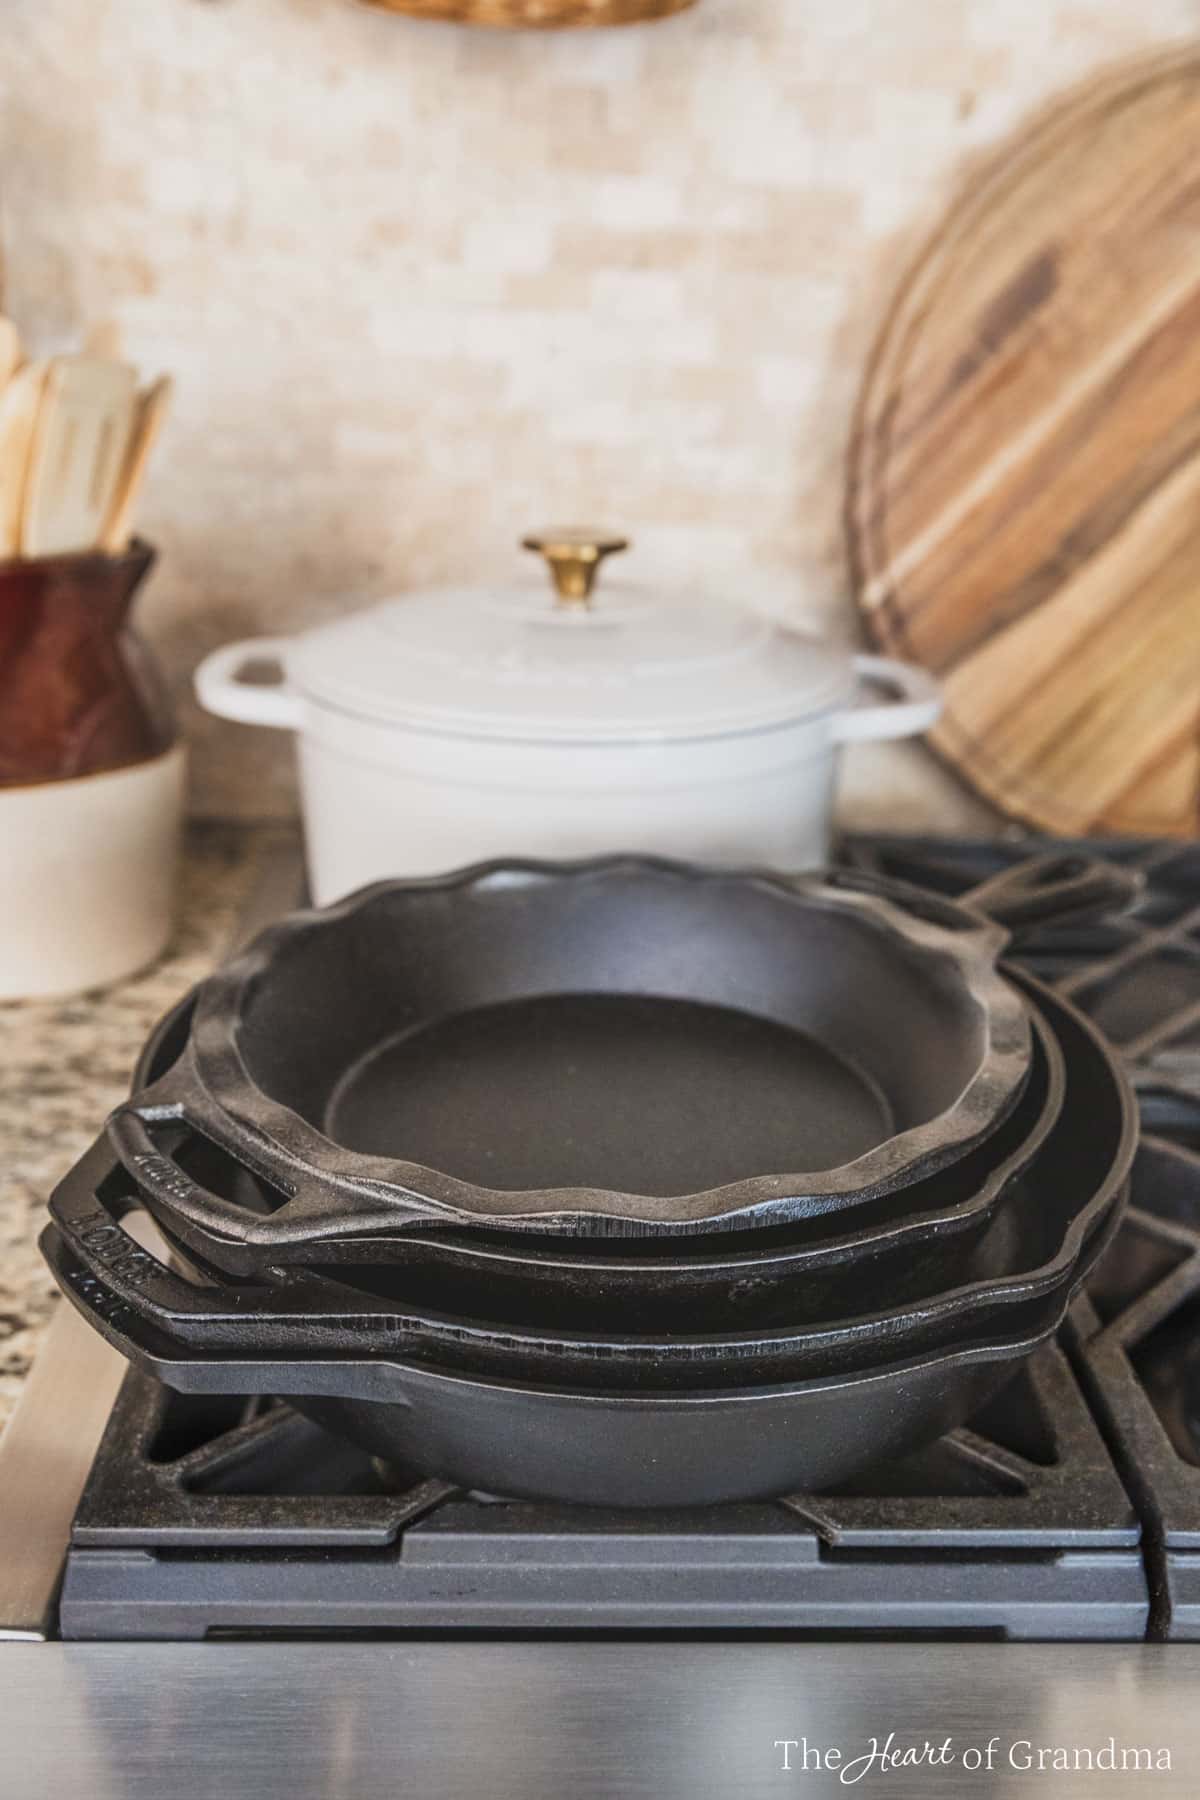
Okay, this is important. But, first of all, great choice. Lodge skillets are my favorite (really, I have 4 or 5 different sizes). They’re made in Tennessee and have been around since before your grandma was born. But if it’s your first one, they’re a little bit different. Here’s what you should know…
- It’s pre-seasoned, which means you can use it right away. But that first factory layer? It’s the appetizer, not the full meal. The real seasoning happens in your kitchen, over time.
- It feels a little rough. That’s not a flaw—modern Lodge skillets aren’t polished smooth like old-school ones. That bumpy texture will mellow out as you cook and re-season.
- It’s heavy. Like “two hands required to flip pancakes” heavy. But that’s why it works so well. The heat retention is unmatched, and it’ll survive basically anything short of being dropped off a cliff (and actually, it may survive that too—I just haven’t tested it, yet).
How to Season Your Cast Iron (Yes, Even If It Says It’s Pre-Seasoned)
Whether it’s new, used, or slightly rusty and hiding in the back of the cupboard, here’s the official process:
1. Wash it. Use hot water and a stiff brush or scrubber. A little soap won’t kill it either, despite the myths. Just make sure it’s completely dry before the next step. You can heat it on the stove for a few seconds to remove any excess moisture, if needed.
2. Rub it with oil. Use a neutral oil (see the chart below). Wipe it all over—inside, outside, even the handle. Then really wipe it down with a paper towel. It should look barely coated, not shiny or greasy.
3. Bake it. Put it upside down in a 450°F oven, with foil underneath to catch drips. Let it bake for one hour, then cool completely in the oven. That’s it. You’re officially seasoned! See, that wasn’t so hard was it?
The best oils for cast iron
- Vegetable oil
- Canola oil
- Avocado oil
- Grapeseed oil
- Flaxseed oil
- Crisco (shortening)
Oils to Skip For Seasoning
- Olive oil
- Coconut oil
- Butter (of any variety)
A Note on Premade Seasoning Paste
One more thing that’s worth mentioning. If you’ve seen those tubes or tins of cast iron seasoning at the store—usually a blend of oils and beeswax—and wondered if they’re necessary. The short answer? Not really. These products can be convenient, especially if you’re just starting out or seasoning multiple pans at once, but they’re not any more effective than plain oil from your pantry. If you like having a dedicated product and don’t mind the price, go for it. But if you’d rather keep things simple, a dab of oil and a paper towel will get the job done just as well (and for much less).
Daily Care: The Low-Maintenance Kind
Here’s how to do it:
- After cooking, wipe it out with a paper towel.
- If anything sticks, rinse with hot water and scrub (soap isn’t necessary most of the time, but you can use a little if you need to).
- Dry it right away.
- Rub in the tiniest bit of oil before putting it away.
That’s really all it takes. No drama. No perfection. Just a little attention after each use.
What If Things Go Sideways?
- Rust? Scrub it off with steel wool, rinse, dry, re-season. Breathe. No panic necessary.
- Sticky spots? Probably too much oil. Heat it up, wipe it out, try again.
- Food sticking? The seasoning just needs more time. Keep going. Use it more. It gets better with age—like denim and…grandmas. 😁
Final Thoughts From Someone Who’s Been There
My favorite skillet isn’t fancy. It came from a little antique store, and it’s seen better days. The bottom is a mess, the handle gets way too hot, and I’ve definitely let it rust once or twice. But it still works like a charm.
I use it for everything—sautéing veggies, frying eggs (yes, you can cook eggs in a cast iron skillet), baking cornbread, even reheating leftover pizza (it crisps up beautifully). It’s the kind of pan you trust. The kind that doesn’t quit on you. The kind you always find yourself reaching for.
And once you get in the habit of taking care of it—just a quick wipe, a bit of oil—it starts to feel like second nature. Like turning off the lights when you leave a room or putting on cozy socks when the weather gets cold.
So don’t overthink it. Don’t baby it. Just use it…and love it.
This skillet will outlive your stovetop. Maybe even your kitchen. And that’s kind of the point. They’re amazing. If you don’t have one, or need a new one, I’ll link my #1 and #2 faves for you below. 🫶🏻


